
MR.ANDERSON.ROCKSTardigrade 2.0:
Movie Quality Puppets
Tardigrade 2.0: Movie
Quality Puppets
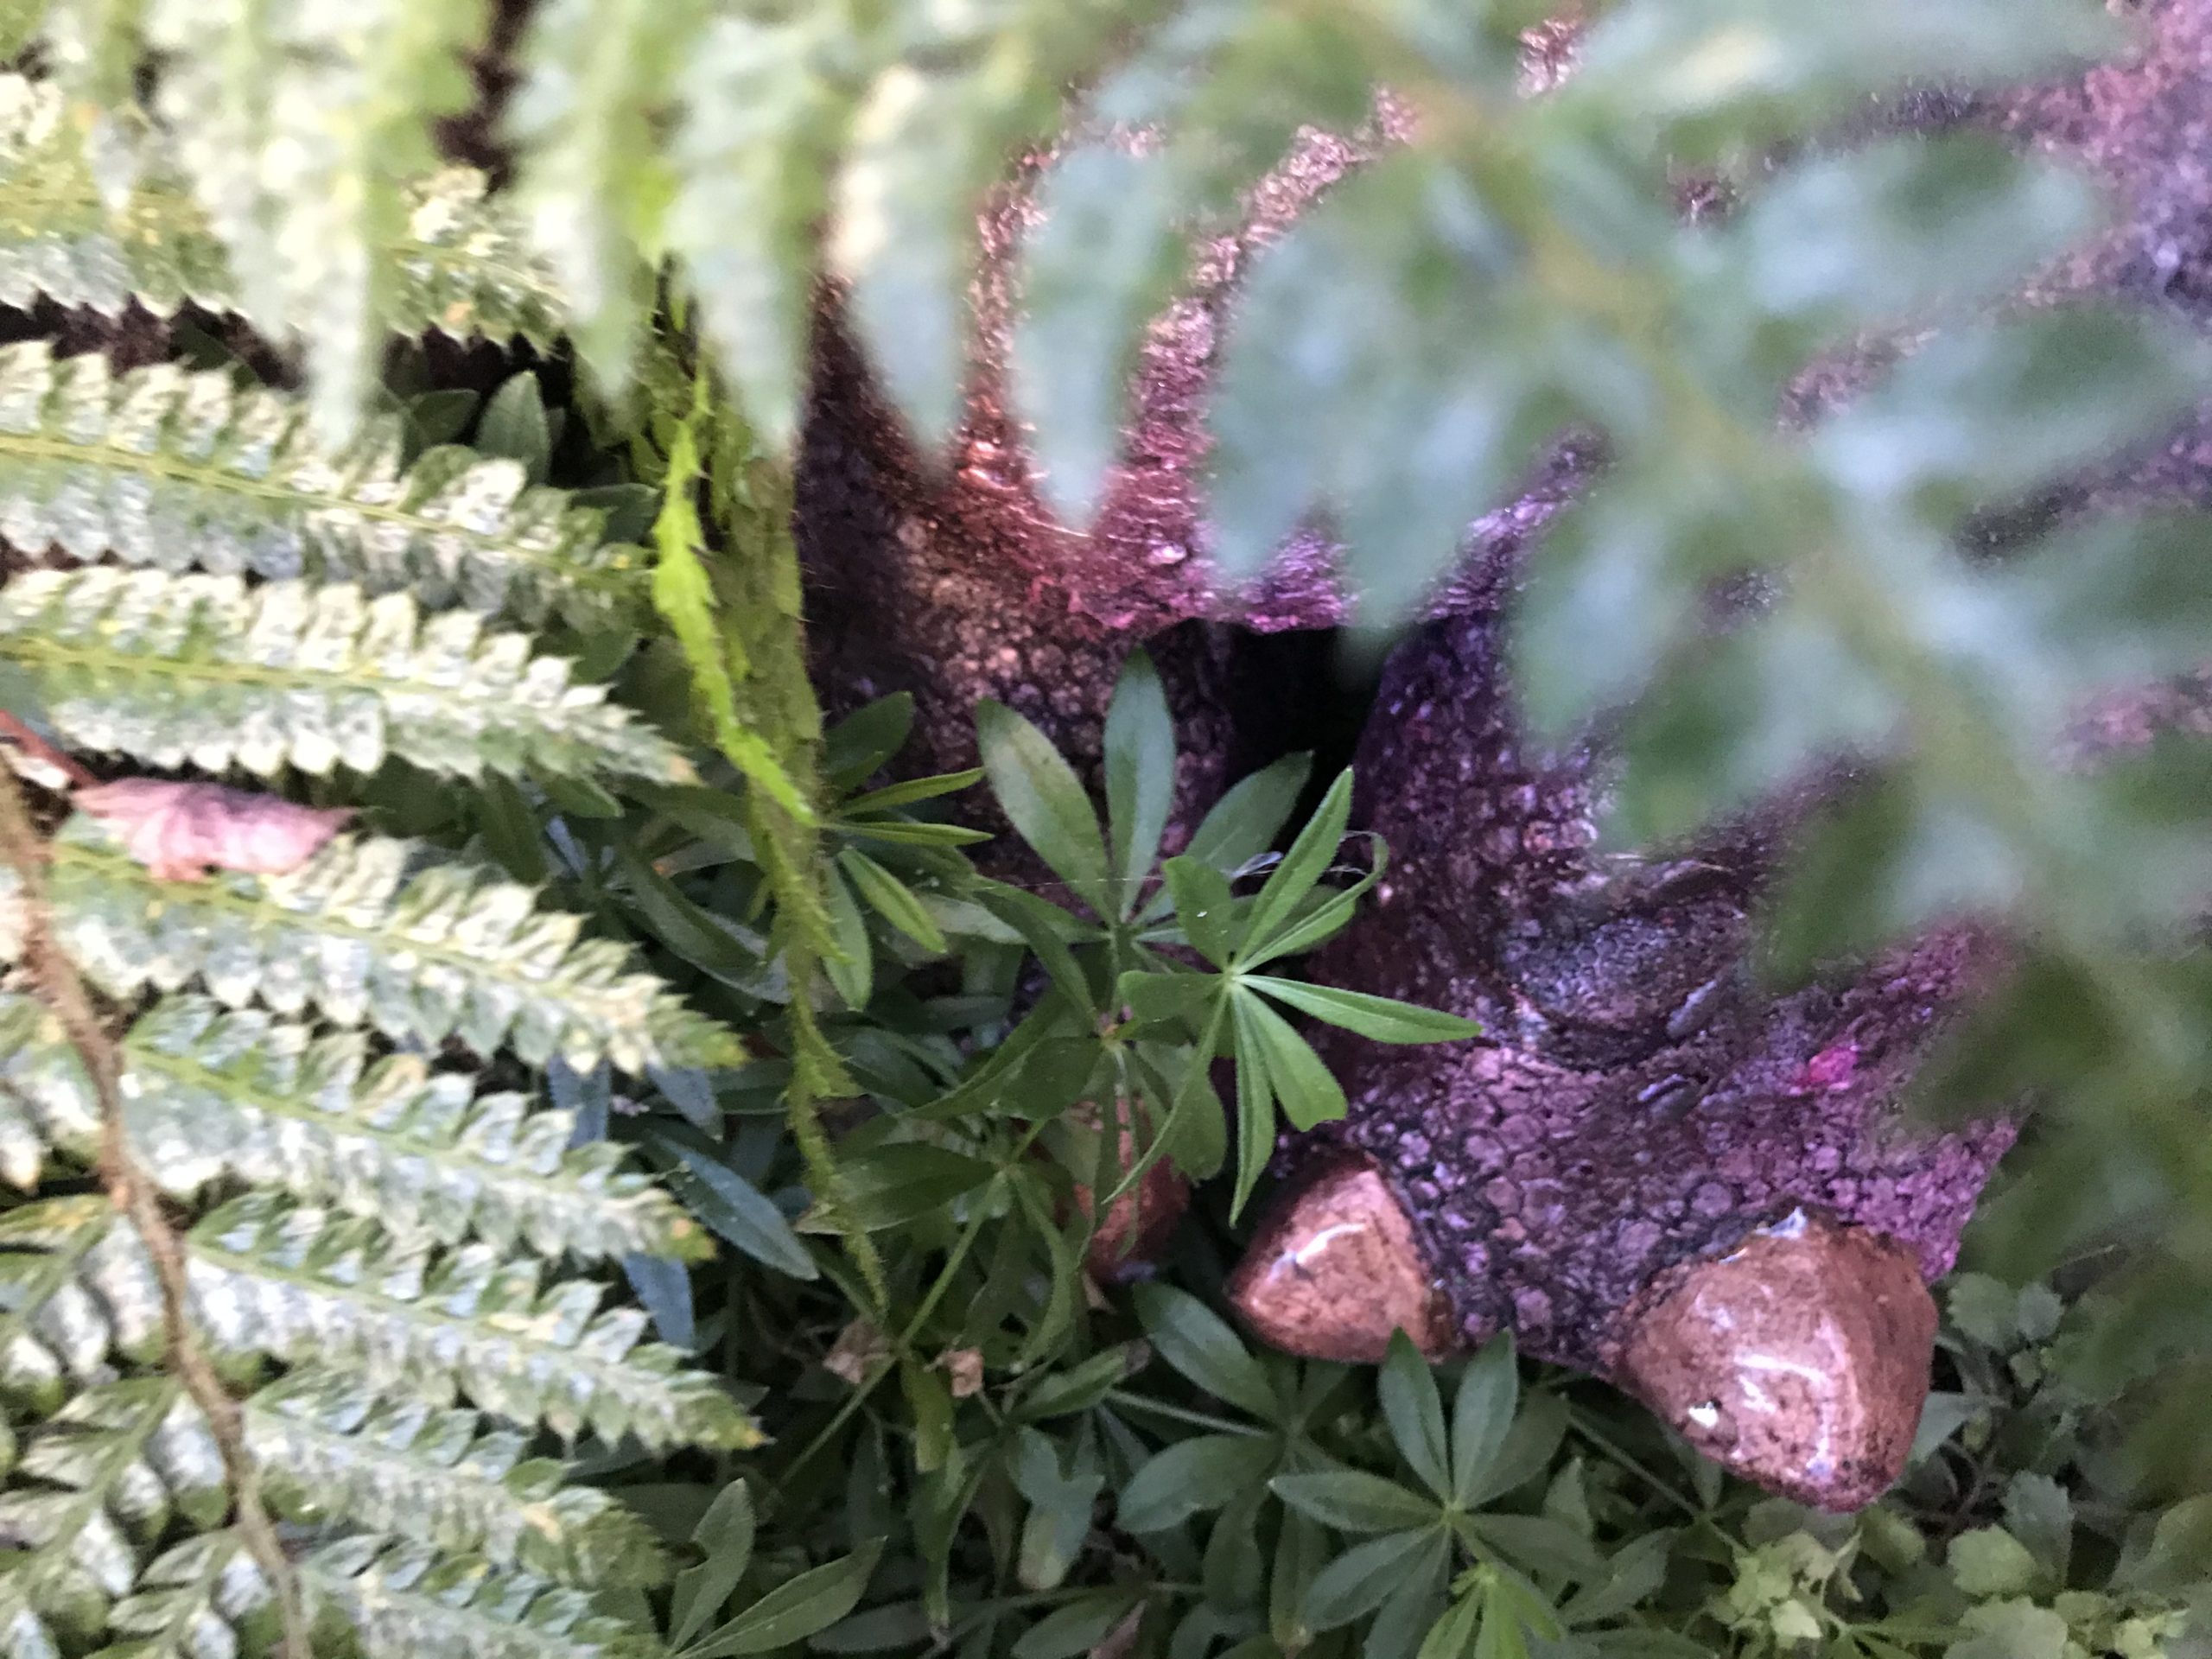
The idea behind “Tardigrades In Space” is to explore the wondrous “innerverse” of microbiology. Puppets, models and special effects will present educational adventures reminiscent of “Magic School bus,” with campy comedy akin to the Muppet Show’s “Pigs in Space.” This blog entry journals the sculpting and fabrication of Tardigrade PUPPETS, version 2.0, styled on the upright figurines described in a previous blog.
The puppets are just over two feet tall, and will be operated by one or two puppeteers depending on required manipulation for particular camera angles. Casting these puppets required another new learning curve as I become ever better at prepping molds and pouring polymers.
Each casting inevitably has a few imperfections; repairs with secondary foam can produce wonky textures and drips. It seemed right to leave those imperfections, and even embellish them, as evidence of each living creature’s unique representation on Earth.
Puppet 2.0 Fabrication
Fabrication followed the same general procedures as the first Tardigrade puppet, but with a larger, more refined movie-quality approach.
[a] Sculpt the object using polymer clays over a styrofoam and metal-screen overlay;
[b] coat the sculpture with a thick layer of silicone rubber;
[c] build a rigid support shell around the silicone with plaster (or in the case of Puppet 2.0, rigid expanding foam);
[d] cut open the silicone and remove the clay sculpture;
[e] put the hollow silicone mold back together and strap it into the rigid shell;
[f] pour flexible expanding foam through a hole, which expands to fill the entire mold;
[g] remove the cured foam casting and prep the body for armatures (arm rods, puppeteer hand access); and finally,
[h] finish the puppet with fabric paints, feathers and other materials.
Starting With The Head
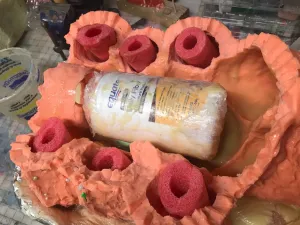
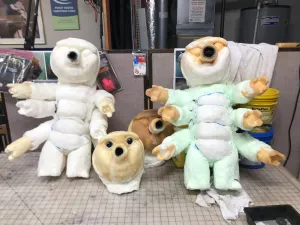
This larger puppet required three separate molds: head, body, and hands. The head and body molds are fitted with void-creating spacers so that the expanding foam will leave a hollow area within. This reduces clipping out cured foam after casting and conserves the expensive Smooth-On materials.
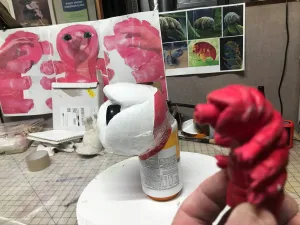
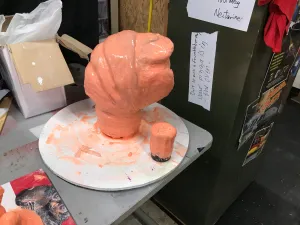
Head sculpture in process
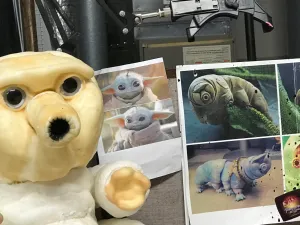
The head sculpture begins beside a small figurine reference, with scaled-up photos in the background. The figurine gives the larger puppet its overall personality and proportions.
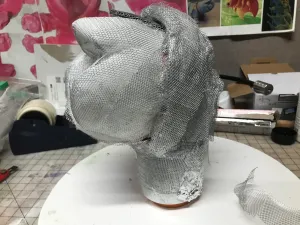
Add texture support
The completed head sculpture is covered with pliable aluminum screening. Like stucco, modeling clay requires a textured substrate so the sculpting material can grip the base form.
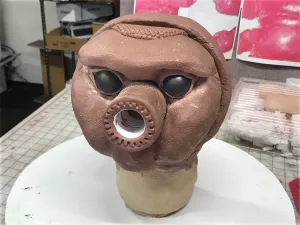
Shape the eyes and snout
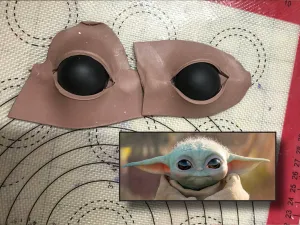
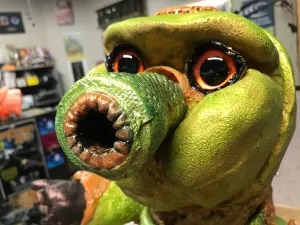
The eyes were loosely based on large deep-pool-like peepers. Ping-pong balls helped establish the eye shapes while the snout was tested as a separate sculpted piece.
Prepare the head for mold-making
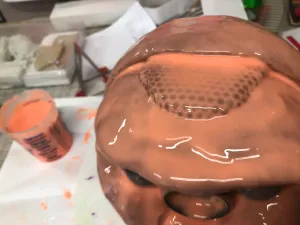
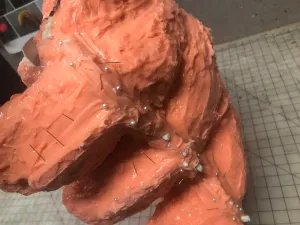
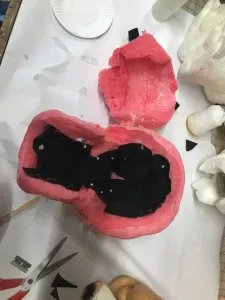
An initial paint layer of runny silicone captures the finest details and textures from the master clay sculpture. The entire piece is then encased in thickened silicone, which will later be cut open so the clay can be removed and expanding foam injected.
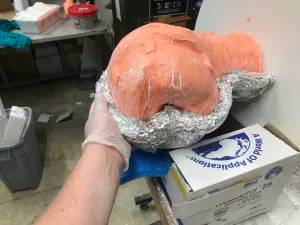
Build the mother mold
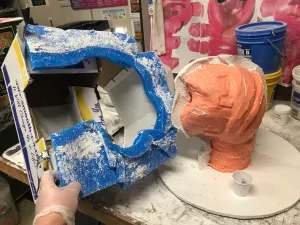
A temporary coffer dam separates the head into two hemispheres. Plaster gauze creates a rigid mother mold that keeps the expanding foam from distorting the soft silicone inner mold.
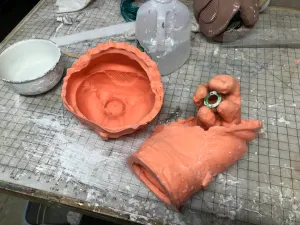
Create the puppeteer hand void
A temporary alginate mold and plaster casting of the puppeteer’s hand creates the void inside the finished head. That space lets the puppeteer manipulate facial features from within.
Hands, Body, And Molds
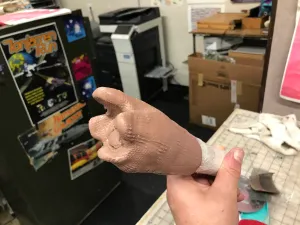
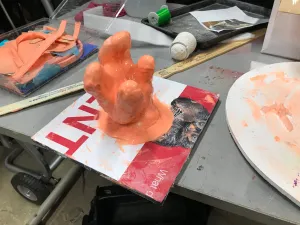
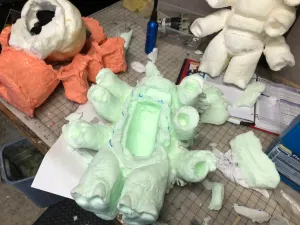
Sculpt the hands
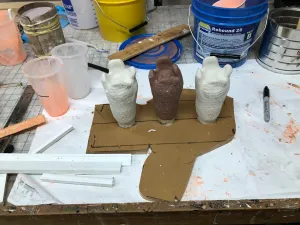
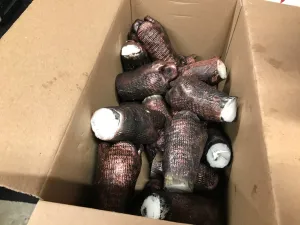
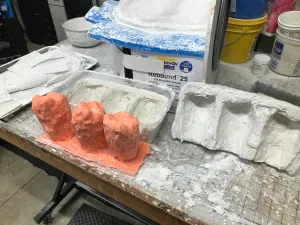
Real tardigrades have eight claw-like feet. These puppets, like the miniature figurines, stand upright on two feet with six expressive “hands.” The hand mold makes three hands at a time, and each puppet requires six.
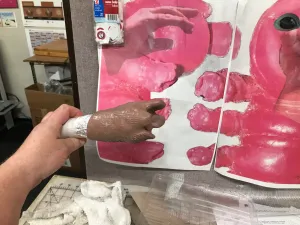
Compare to the figurine
The clay hand is compared to enlarged reference images of the original tiny figurine. The reference keeps the larger puppet connected to the miniature character design.
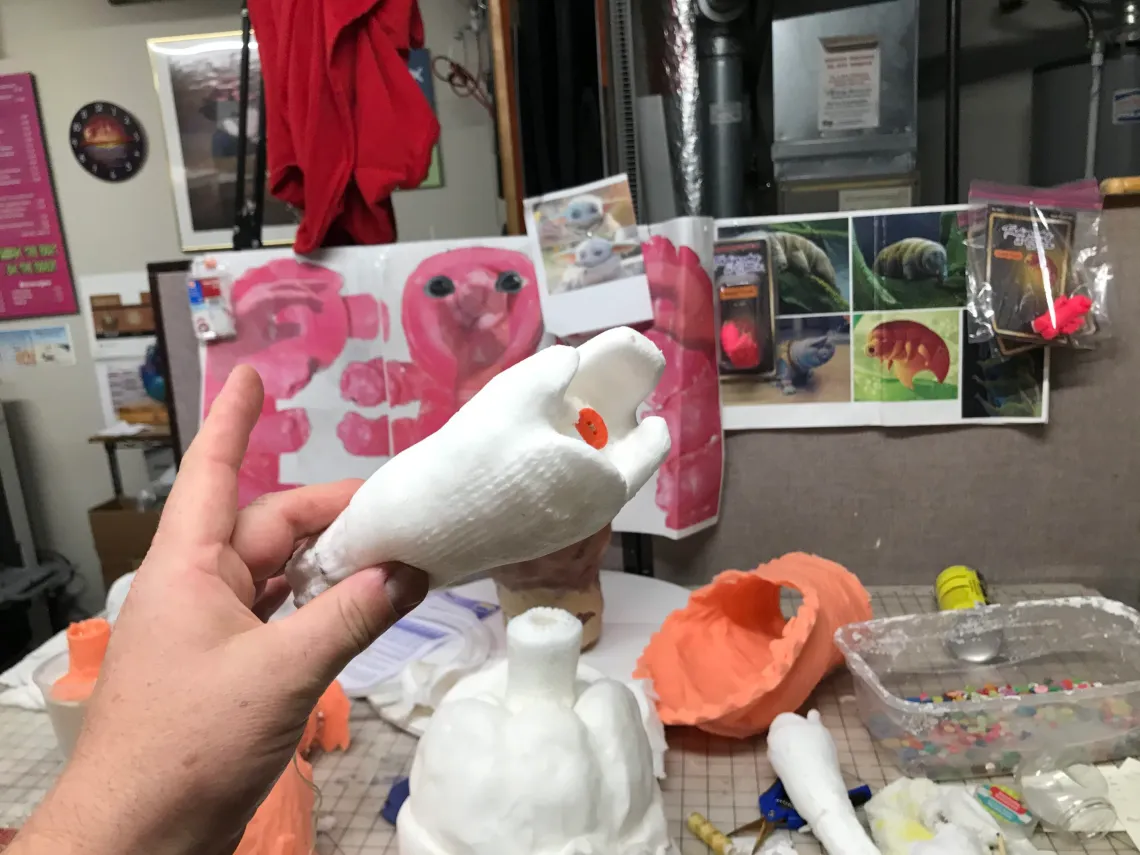
Rough out the body
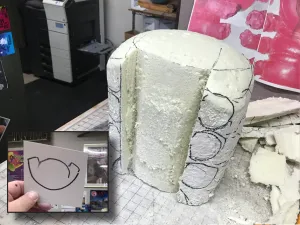
The body starts as a block of rigid foam. It is roughed into shape with a serrated saw, then refined into the form that will eventually hold the head, hands, body texture, and internal support structure.
Cover the body with mesh
The rigid foam is covered with aluminum mesh so the clay and plasticine modeling compounds adhere to the surface. The arms are hollowed out so the foam hands can later be glued into place.
Build up the final body texture
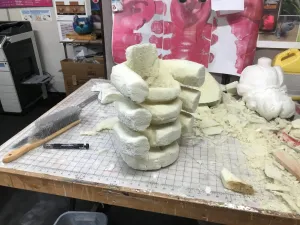
Monster Clay and other modeling compounds are used to create surface detail. Since the master sculpture will be destroyed when removed from the silicone mold, available materials are used strategically.
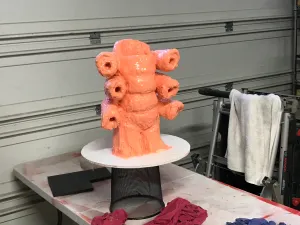
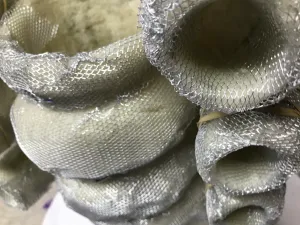
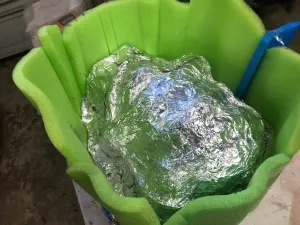
Make the body mold
Like the head sculpture, the body is coated with thick silicone, then surrounded with a rigid mother mold. The silicone mold has a thick seam that is cut apart in a zigzag pattern to remove the clay sculpture inside. A void piece conserves foam and creates a hollow center.
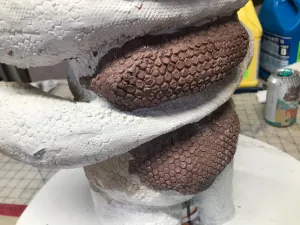
Cast the foam body
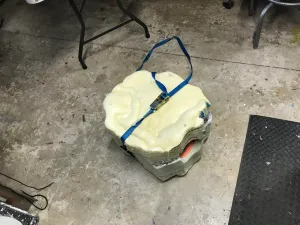
The rigid foam mother mold is strapped around the silicone inner mold and filled with expanding foam. Some test castings also use brushed urethane rubber inside the mold before the foam is poured.
Finishing The Puppets
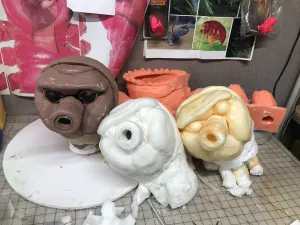
Customize the head
Some heads use large teddy-bear eyes. The snout can be glued into place or held with a button and wire. Future versions could make the snout articulate with internal mechanisms.
Line the hand cavity
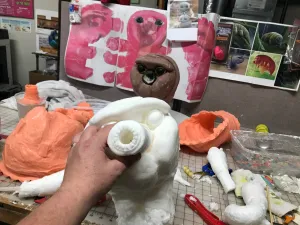
After customizing the void-space with a razor knife, the inside cavity is lined with soft neoprene fabric for durability and puppeteer comfort.
Paint, feather, and finish
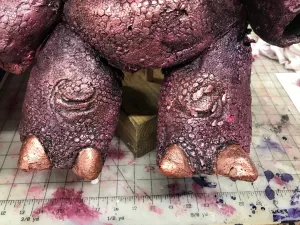
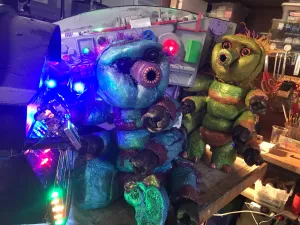
After applying a dark primer, the top paint colors become metallic and iridescent. The purple tardigrade was the first of five, followed by other brightly colored characters with feathers, eyes, and personality details.
Add body support
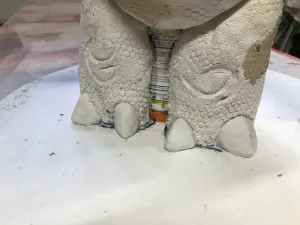
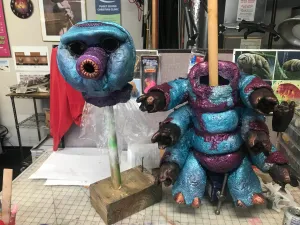
For full-body shots, heads mount on a void-shaped piece of rigid foam and PVC pipe. The pipe extends through the hollow body and plugs into a hole between the feet, keeping the flexible body upright for filming.
Stage test shots
Test photos and videos are staged on a workbench using a partial cockpit set. These tests help decide how the characters will move, frame, and read on camera.
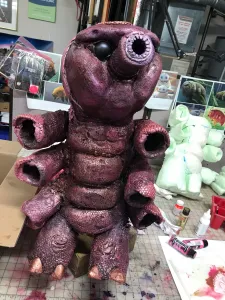
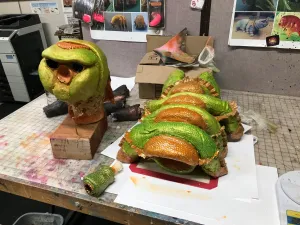
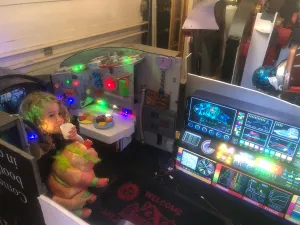
Lastly, Mr. Anderson poses with two puppets to show their actual size.